Introduction to CareKit, Part 3: Connect
Troy Tsubota • 06 January 2017
Welcome to the third part of the Introduction to CareKit tutorial. This final part of the tutorial will wrap up the introduction to the six CareKit modules.
In Part 1, you learned what CareKit is and used three modules: the Care Card, Symptom and Measurement Tracker, and Care Plan Store.
In Part 2, you used Insights to display a message and graph about the user’s sleep and care completion.
In this part, you’ll use the final two modules, Connect and Document Exporter, to add contacts and have the user be able to share a care PDF with them.
The Connect module
Adding Contacts
Contacts in CareKit are of type OCKContact, which have the following properties:
type: a contact can either be part of the user’s care team or one of their personal contacts. There isn’t much difference between them except that they’re separated in the view controller and you can restrict sending reports to only one type.namerelation: “Mom”, “Dad”, “Doctor”, etc.contactInfoItems.phone.sms.email.facetimeVideo: video number or email..facetimeAudio: audio number or email.
tintColormonogram: one or two letters to represent a contact (defaults to first and last initial).image: a profile picture of sort.
Open your HelloCareKit project from the second part. If you haven’t completed Part 2, download the finished project from that part on GitHub.
Adding contacts to the Connect module is really easy. First, define a property to store the contacts in the tab bar controller:
var contacts = [OCKContact]()
Next, create a method that adds some contacts to the array:
func addContacts() {
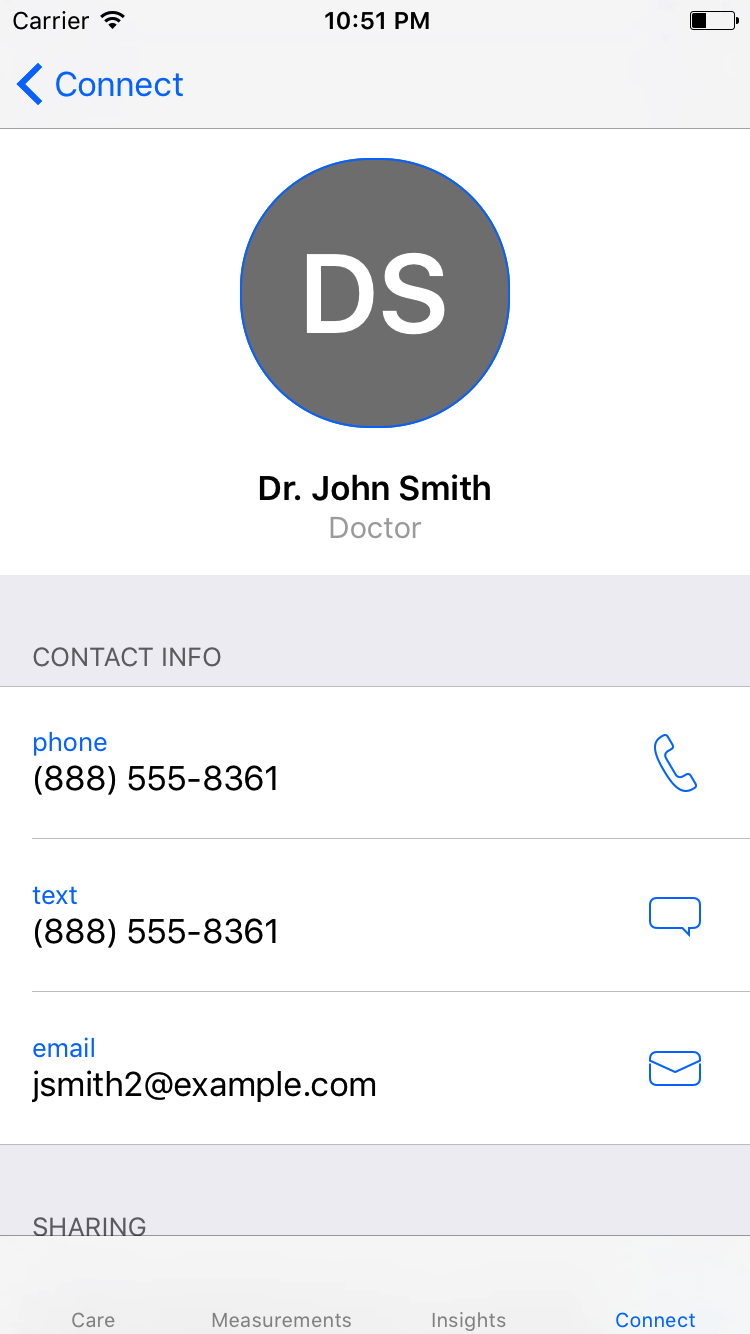
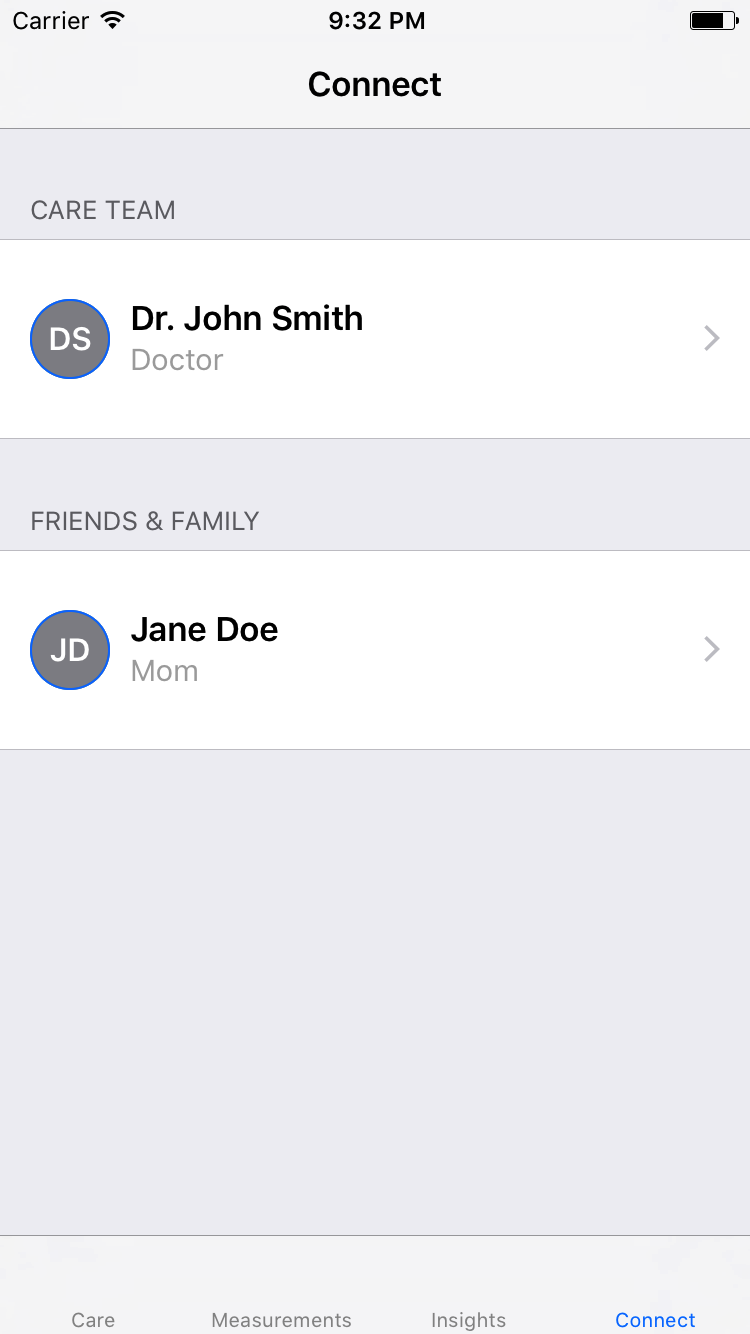
let doctor = OCKContact(contactType: .careTeam, name: "Dr. John Smith", relation: "Doctor", contactInfoItems: [.phone("(888) 555-8361"), .sms("(888) 555-8361"), .email("jsmith2@example.com")], tintColor: nil, monogram: nil, image: nil)
let mom = OCKContact(contactType: .personal, name: "Jane Doe", relation: "Mom", contactInfoItems: [.phone("(888) 555-2346"), .facetimeVideo("(888) 555-2342", display: "(888) 555-2342")], tintColor: nil, monogram: nil, image: nil)
contacts = [doctor, mom]
}
This creates two contacts for the user. The .phone, .sms, etc. are shorthand methods for creating contact info items of type OCKContactInfo.
Next, in viewDidLoad, add this after addActivities():
addContacts()
Then, create the OCKConnectViewController after updateInsights():
let connect = OCKConnectViewController(contacts: contacts)
connect.title = "Connect"
And finally, add connect to viewControllers:
viewControllers = [
    ...,
    UINavigationController(rootViewController: connect)
]
Build and run to see the contacts you created.
OCKConnectViewControllerDelegate
The Connect view controller delegate is used for sending reports to contacts (as well as custom handling of contact info items), which is disabled by default. Add this line to viewDidLoad, after declaring connect:
connect.delegate = self
Then, add an extension at the bottom of the file that conforms to OCKConnectViewControllerDelegate and implement two of the three available methods:
extension TabBarController: OCKConnectViewControllerDelegate {

    func connectViewController(_ connectViewController: OCKConnectViewController, didSelectShareButtonFor contact: OCKContact, presentationSourceView sourceView: UIView?) {

    }

    func connectViewController(_ connectViewController: OCKConnectViewController, titleForSharingCellFor contact: OCKContact) -> String? {
        return "Share Care Data with \(contact.name)"
    }

}
connectViewController(_ connectViewController:, didSelectShareButtonFor:, presentationSourceView:) is for when the share button is selected for a contact. presentationSourceView is provided for any view controller presentation. The second method, connectViewController(_ connectViewController:, titleForSharingCellFor:) is to give a title for the sharing table view cell. Returning nil disables sharing for the contact being passed through the method.
You’ll fill in the first method’s body in the next section.
Creating a PDF
The core of the Document Exporter is OCKDocument. A document has HTML content and can be converted to a PDF with a convenience method. A document made with CareKit can contain various OCKDocumentElements:
OCKDocumentElementSubtitleOCKDocumentElementParagraphOCKDocumentElementImageOCKDocumentElementChart(note: there’s currently a CareKit bug where charts don’t render in both HTML and PDF forms of the document)OCKDocumentElementTable
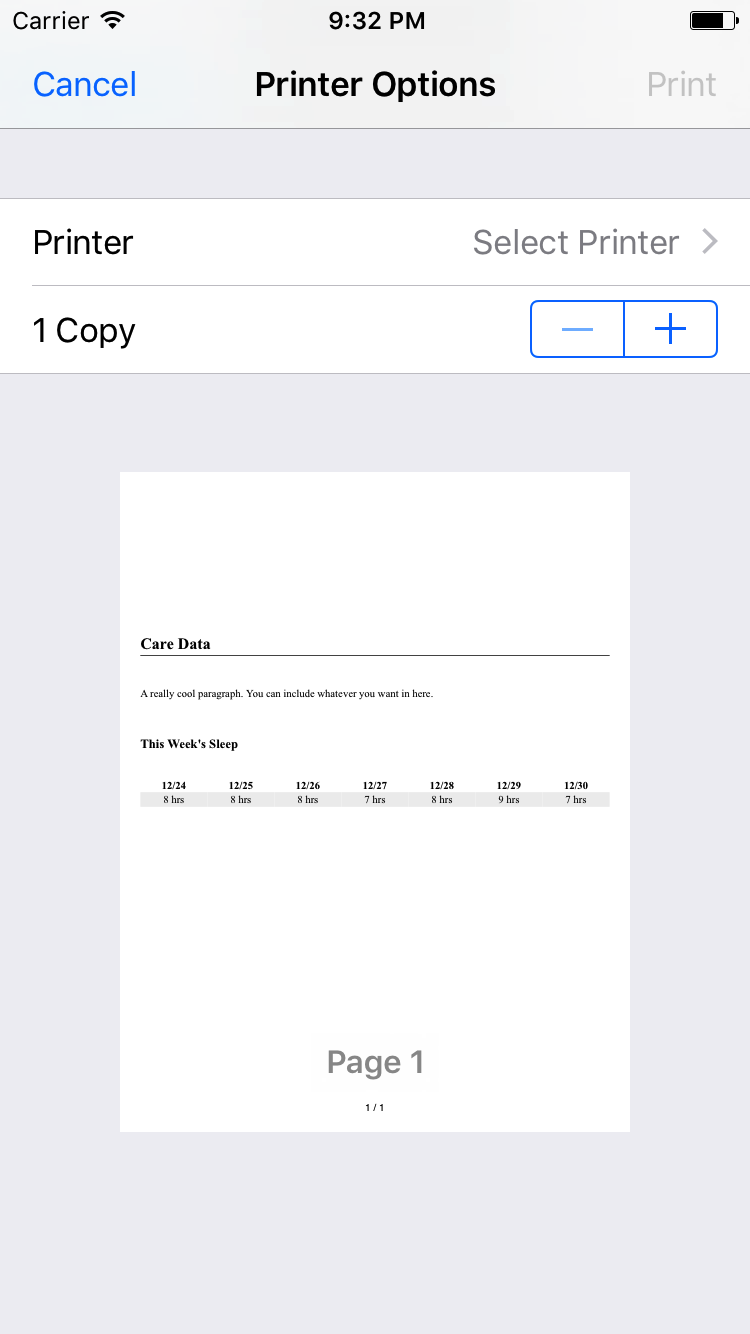
In the document you’re going to create, there’s going to be three elements: a paragraph, a subtitle, and a table. The table will include sleep data from the past week.
Add the following to connectViewController(_ connectViewController:, didSelectShareButtonFor:, presentationSourceView:):
var sleep = [DateComponents: Int]()

let sleepDispatchGroup = DispatchGroup()

sleepDispatchGroup.enter()
fetchSleep { sleepDict in
    sleep = sleepDict
    sleepDispatchGroup.leave()
}
This should look very familiar from when you created Insights. You define the sleep dictionary and the dispatch group and the sleep data is fetched and stored.
You can now create the three document elements and the document:
sleepDispatchGroup.notify(queue: .main) {
    let paragraph = OCKDocumentElementParagraph(content: "A really cool paragraph. You can include whatever you want in here.")
    let subtitle = OCKDocumentElementSubtitle(subtitle: "This Week's Sleep")

    let formattedDates = sleep.keys.sorted(by: {
        self.calendar.dateComponents([.second], from: $0, to: $1).second! > 0
    }).map { self.monthDayFormatter.string(from: self.calendar.date(from: $0)!) }
    let table = OCKDocumentElementTable(headers: formattedDates, rows: [sleep.values.map { "\($0) hrs" }])

    let careDocument = OCKDocument(title: "Care Data", elements: [paragraph, subtitle, table])
    careDocument.createPDFData { (pdfData, error) in
        let activityVC = UIActivityViewController(activityItems: [pdfData], applicationActivities: nil)
        activityVC.popoverPresentationController?.sourceView = sourceView
        self.present(activityVC, animated: true, completion: nil)
    }
}
The paragraph and subtitle are fairly self-explanatory. formattedDates should look familiar from when you created the Insights. Creating the table is also pretty simple.
You then create an OCKDocument with the three elements. You call createPDFData() and pass the data into a UIActivityViewController. Finally, you present the view controller.
Build and run and try sending care data to any one of the contacts. On the Simulator, tap Print to see your PDF. On iOS, you can use other forms of sharing to view your PDF.
Print Screen
What’s next?
In this final part of the tutorial, you learned how to:
- Add contacts to the Connect module.
- Implement the Connect delegate.
- Create a document from the care data.
You can download the finished project on GitHub.
That’s it for this 3-part tutorial to introduce you to CareKit! If you enjoyed this tutorial, be sure to follow us on Twitter and keep checking back here for more tutorials relating to CareKit and other iOS topics.
If you have any questions, feedback, or tutorial requests, feel free to open an issue on GitHub. I hope you enjoyed this tutorial!